How to Provide Liquidity
Providing full-range liquidity
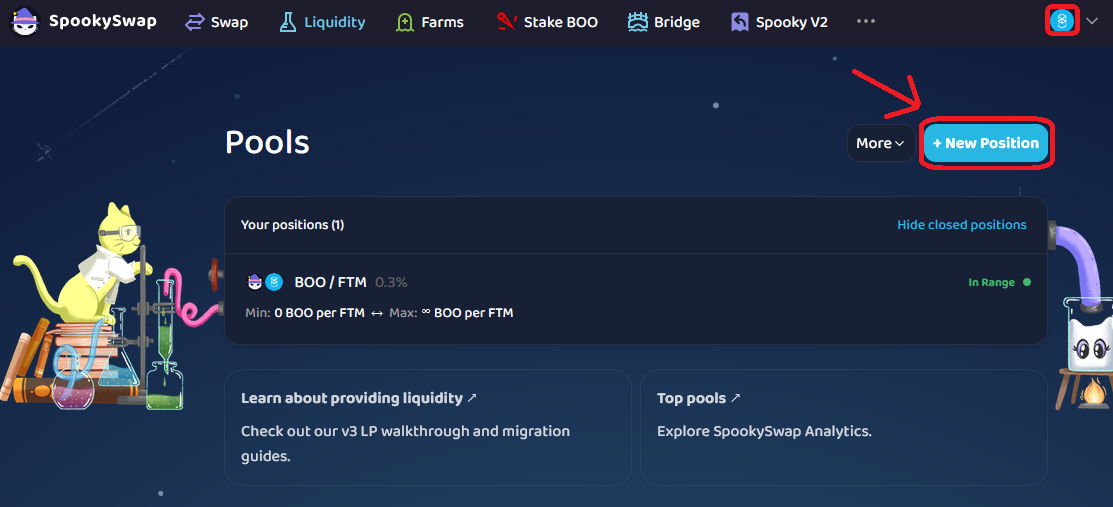
- First, go to our Liquidity page. Make sure your wallet is connected and on the correct network.
- Click + New Position.
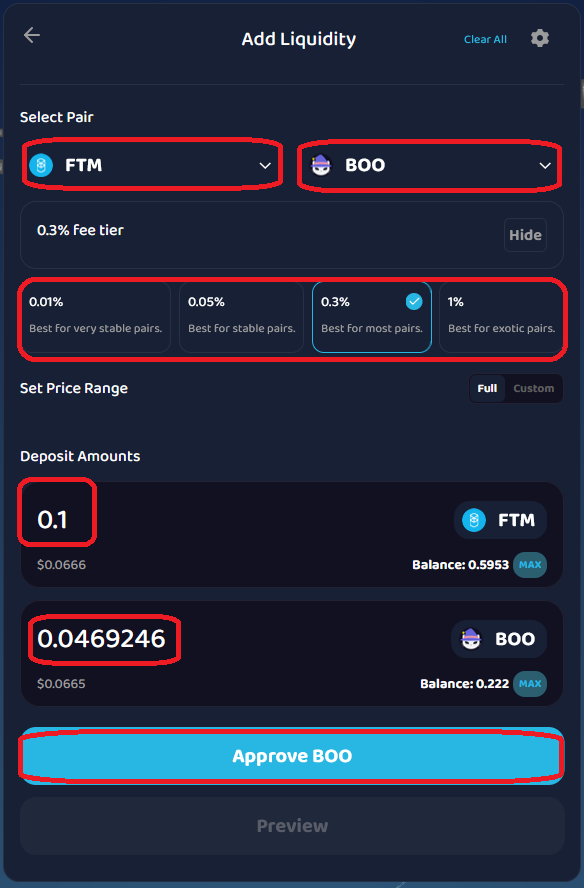
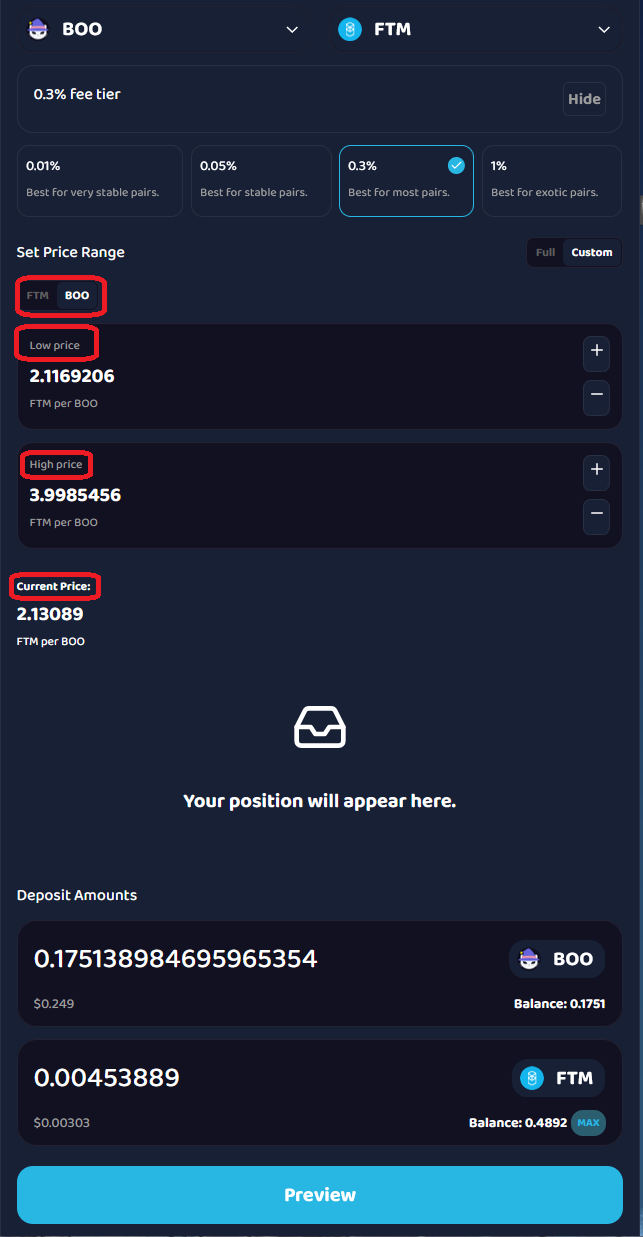
- Select the token pair you wish. After selecting your token pair, select one of the 4 fee tiers you will earn. For a V2 experience with LP earning fees on the full range without having to monitor or customize price ranges, investors can select the Full option.
- When you are ready, click Approve and approve the transaction in your wallet. (In this example, FTM and BOO are the token pairs, and the 0.3% fee tier is chosen.)
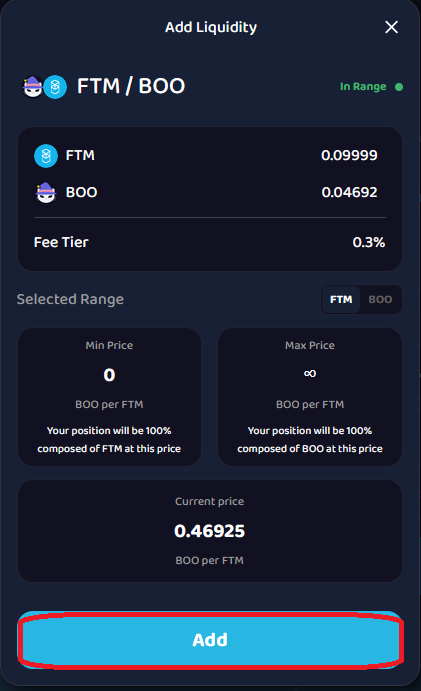
- When it’s approved and confirmed, click Preview to ensure the details of your liquidity are added. Once everything looks correct, click Add and confirm it in your wallet again.
- When complete, you should see the Transaction submitted window pop up. You can click View on Block Explorer to view it on FTMScan.
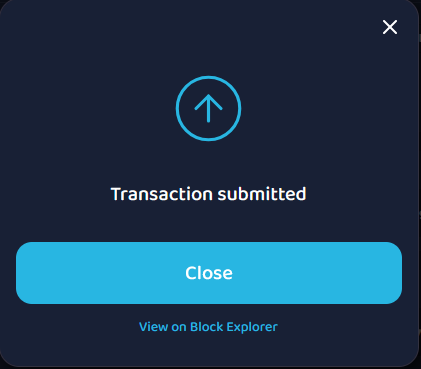
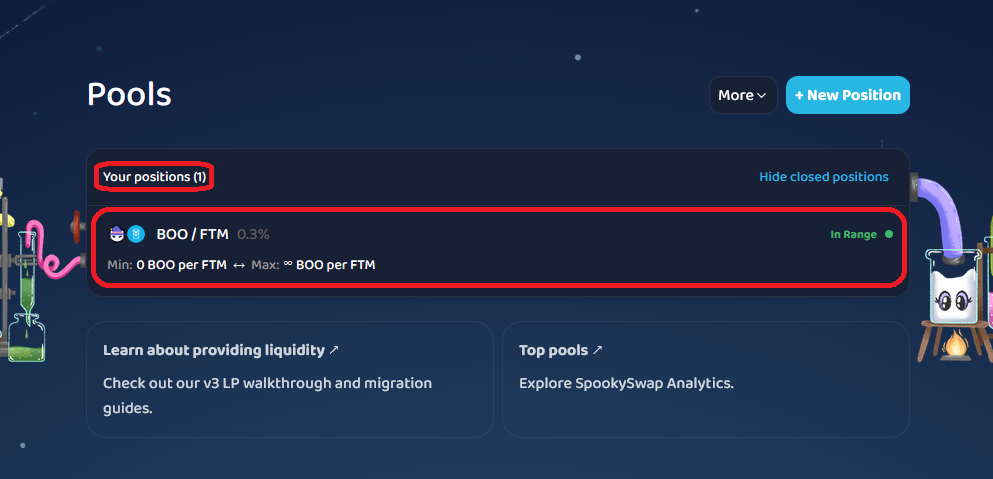
- Once you close the pop-up window, you should see your new open position.
Providing Concentrated Liquidity (new V3 feature)
If you wish to utilize the benefits of Concentrated Liquidity, like range orders, before depositing your token amounts, set your custom price range. To learn more about price ranges, price rounding, and concentrated liquidity, check the Spooky article on concentrated liquidity.
Video: Concentrated liquidity overview (Uniswap)
Providing V2 Liquidity
Most users should provide liquidity on SpookySwap V3, however in some cases you may want to provide liquidity to SpookySwap V2, which is a Uniswap V2-based AMM DEX. For example, tokens with a fee on transfer cannot be used on SpookySwap V3.
To add liquidity to SpookySwap V2, visit the following link.
Swapping tokens on SpookySwap’s Swap Page is automatically supported for all liquidity, no matter if it is on V2, V3 or both.